Skip to content

Image to 3D — turn a photo or picture into a 3D model

Image to 3D on NovaGen3D turns a picture to 3D: one photo or render becomes an image to 3D model, a GLB you can rotate, then texture, split, or export in the same browser workspace.

Start from text

Runs in your browser, nothing to install. Sign in for welcome credits, where available.

  • Drafts in ~30 sec
  • Free credits to start
  • Texture, rig, and animate next
Turn your image into a 3D modelStart from a product photo, sketch, or concept image.
1 image
Export for editing, print prep, or ARConvert GLB to GLTF, OBJ, STL, PLY, or static USDZ.
9 export formats
Create directly in your browserGenerate, inspect, and refine without a desktop app.
0 installs
  • Hunyuan 3D
  • Tripo
  • Rodin
  • Hitem3D
  • Trellis

How it works

From idea to textured model

Example: Game prop

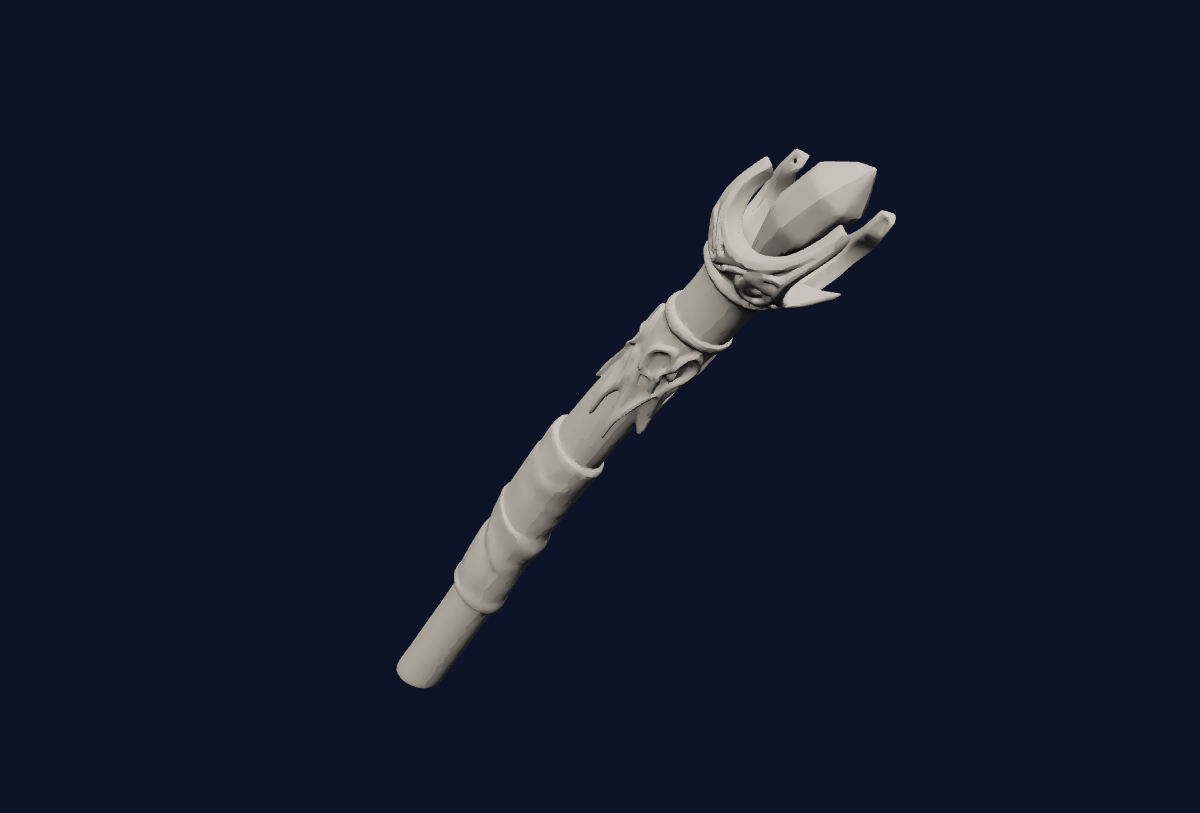
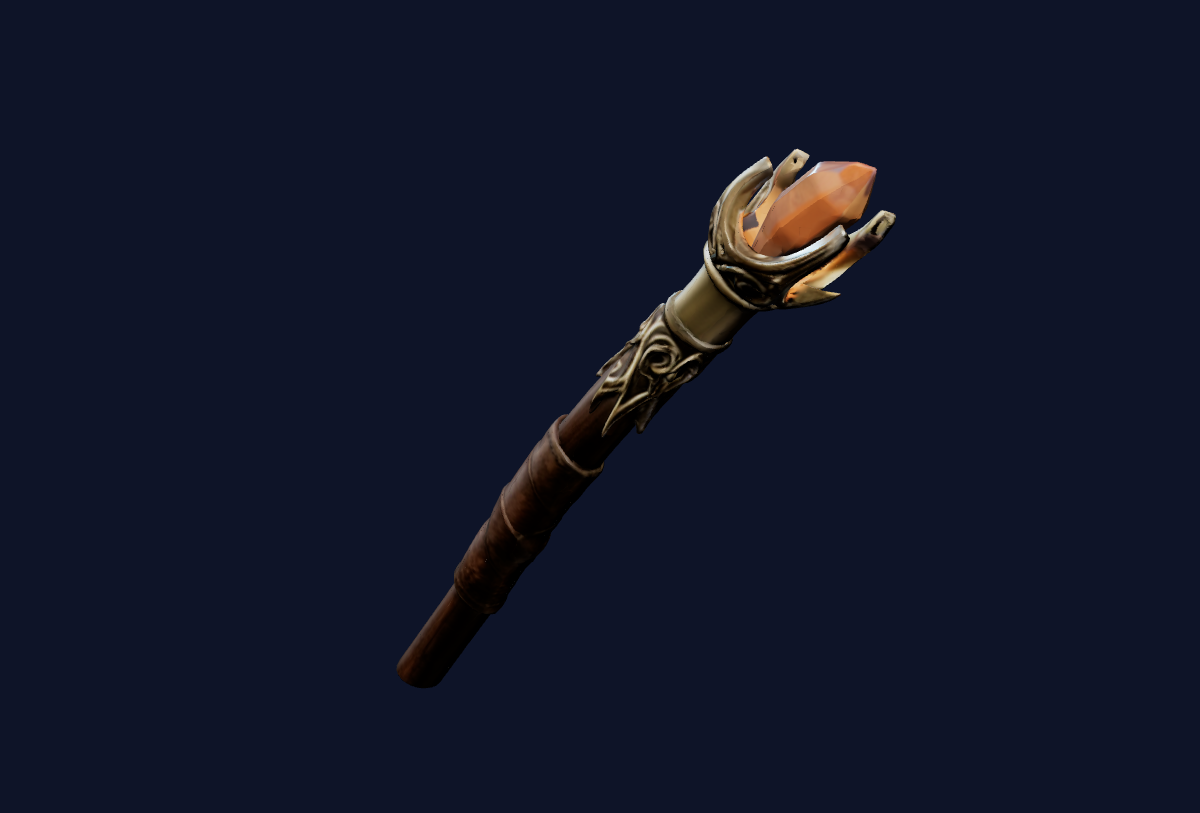
  1. A fantasy short staff with a leather grip, brass fittings, and an amber crystal.

    Image or prompt
  2. Game prop — clay mesh
    Clay mesh
  3. Game prop — textured model
    Textured model

Tools

Start with the input you already have

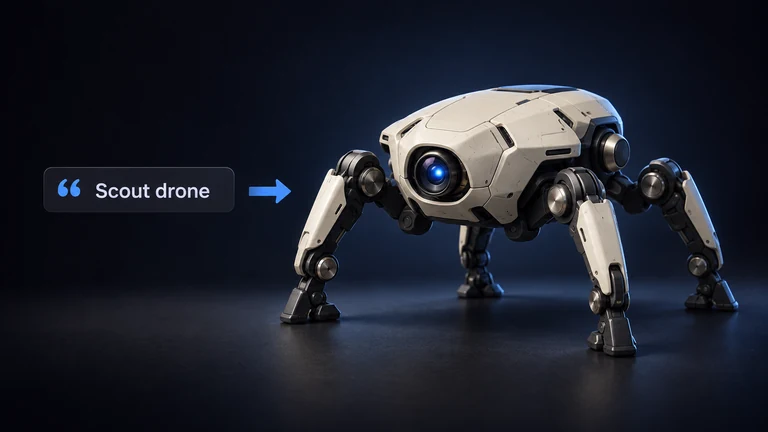
  • A short prompt leading to a four-legged scout drone.

    An idea without artwork

    Describe one object in Text to 3D. The prompt accepts 1 to 1,000 characters and needs no reference image; the result is a GLB for further modeling.

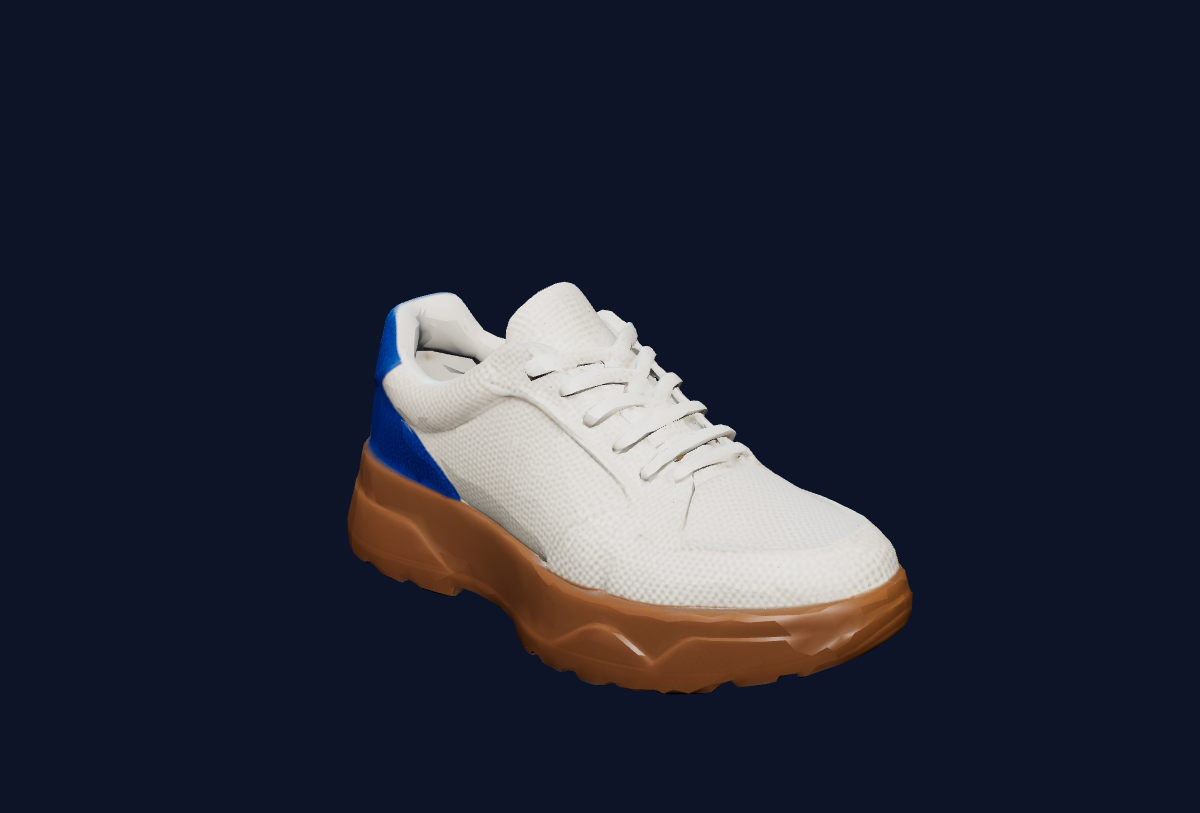
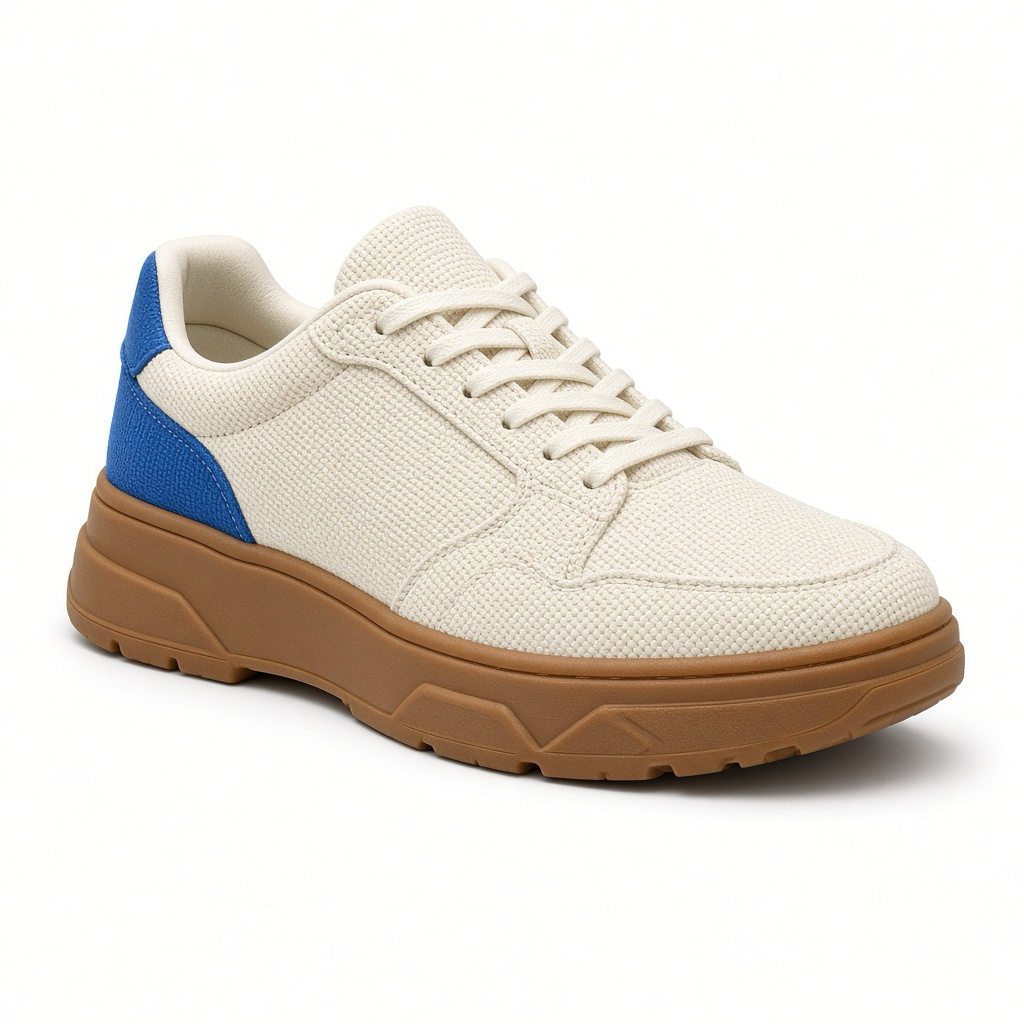
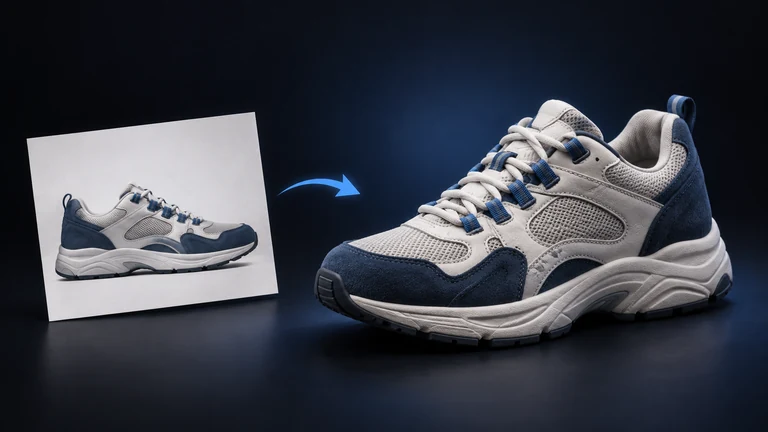
  • A flat sneaker reference leading to a three-dimensional sneaker.

    One sketch, photo, or render

    Upload one PNG, JPG, JPEG, or WebP reference to Sketch to 3D. The tool generates a GLB and infers surfaces outside the camera view.

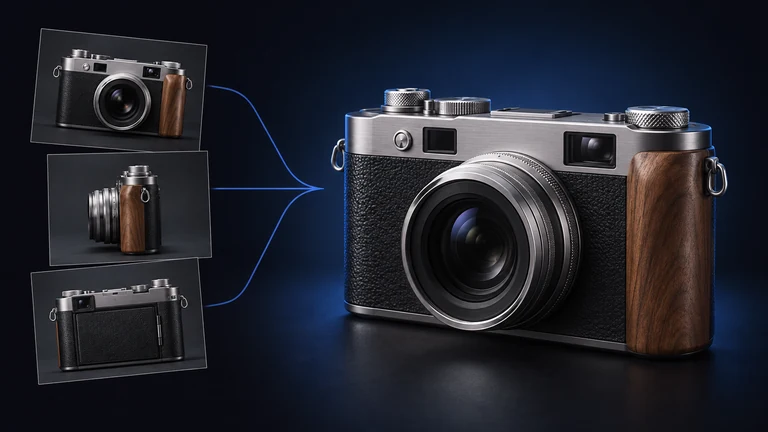
  • Front, side, and rear sheets of an expedition camera leading to the camera.

    Several views of the same object

    Use Multi-view to 3D when you have at least two views of the same object. Hunyuan 3D accepts 2 to 8 labeled views with Front first; Tripo accepts 2 to 4 in front, left, back, right order; Hitem3D accepts 2 to 4 labeled views; Rodin accepts 2 to 5 images.

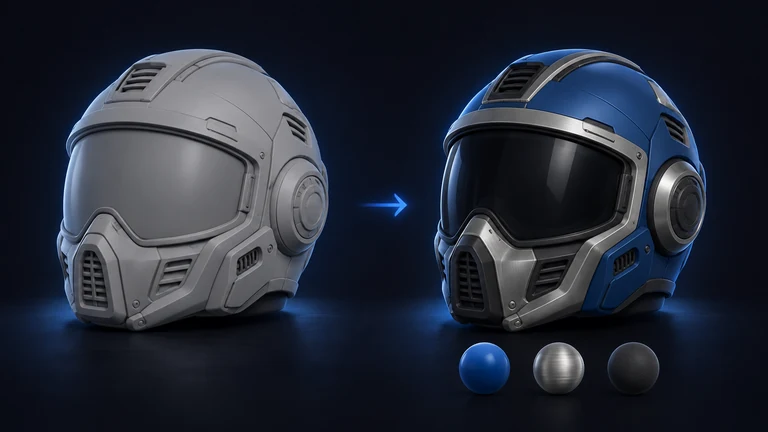
  • A clay flight helmet beside the same helmet with a painted surface.

    A new appearance for an existing GLB

    Texture generator accepts a GLB up to 100 MB plus one PNG, JPG, or JPEG appearance reference. Use the retextured GLB to compare another finish before continuing material edits.

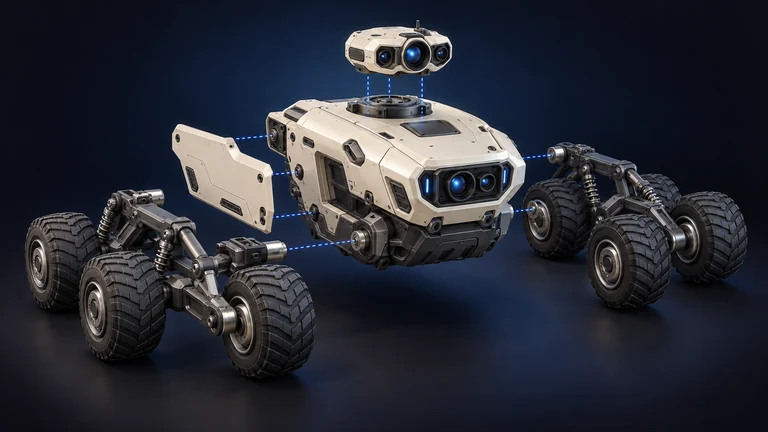
  • An expedition rover with its sensor module, wheels, and a panel separated.

    Components you can edit separately

    Separate parts accepts a GLB up to 100 MB and returns selectable mesh components. Refine component boundaries in an editor when a returned group includes an unwanted detail.

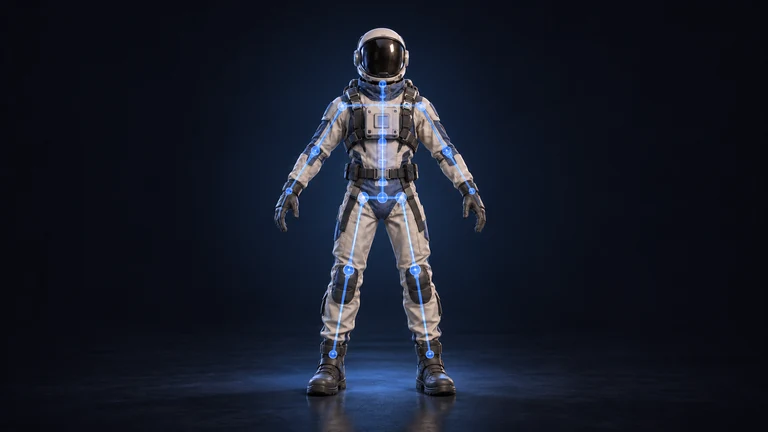
  • A space pilot in an A-pose with a skeleton overlay.

    A reusable character rig

    Auto rigging checks a character or supported animal GLB before creating a skeleton and skin weights. Save the rig for posing or compatible preset animations; rigging itself adds no motion clips.

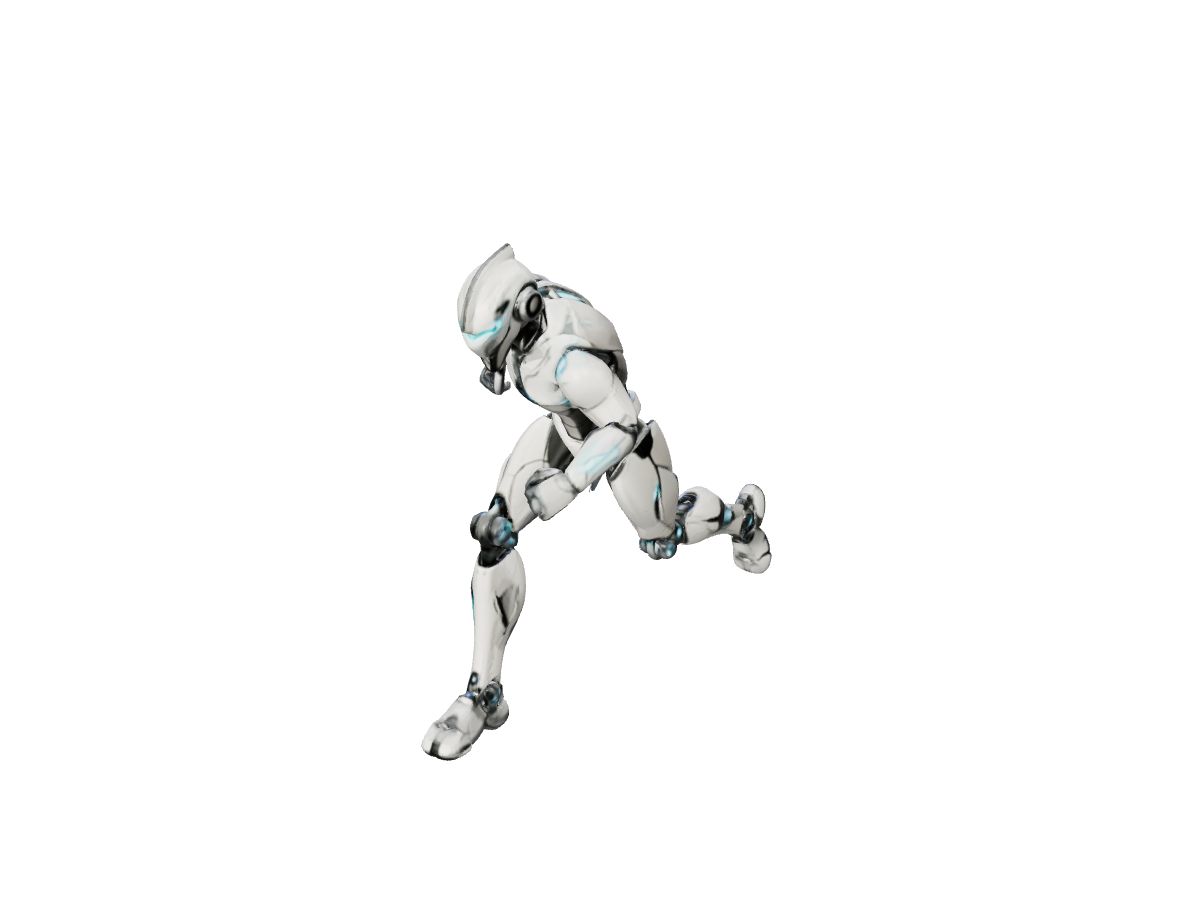
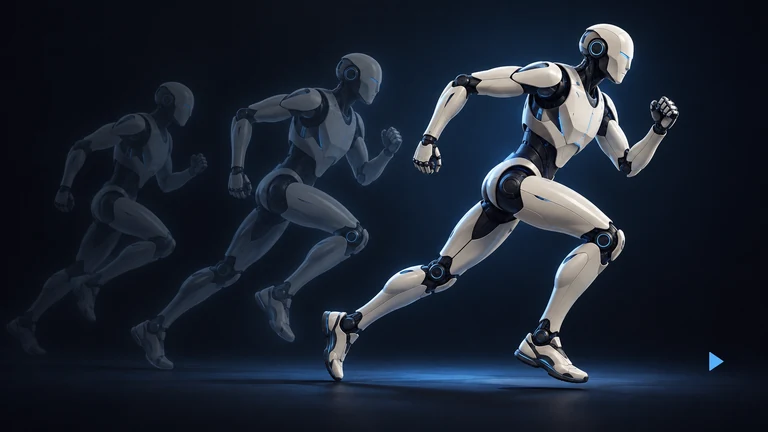
  • A humanoid robot in a running stride with earlier poses behind it.

    Motion on a saved rig

    Apply animations adds one compatible preset motion to a saved rig. Each result is an animated GLB; reuse the same skeleton for another action and choose in-place movement or an optional FBX copy.

Try it now

Image to 3D workspace

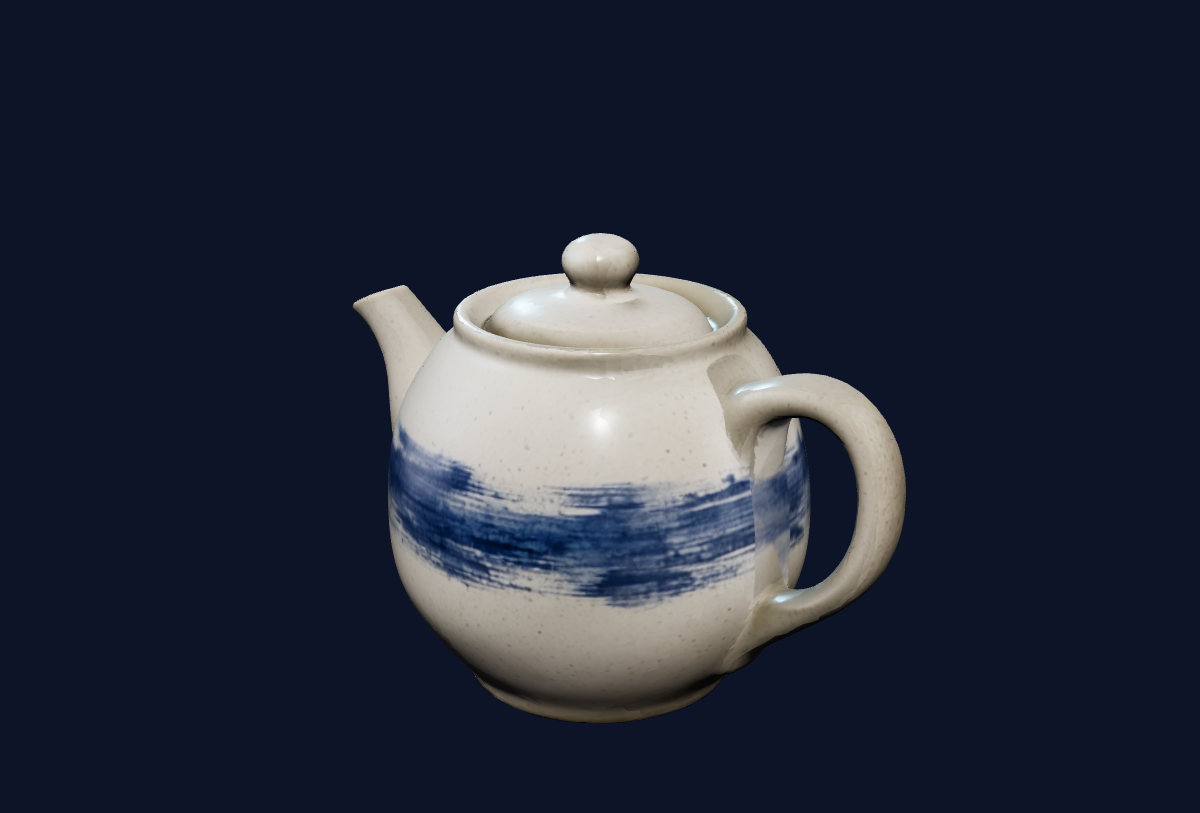
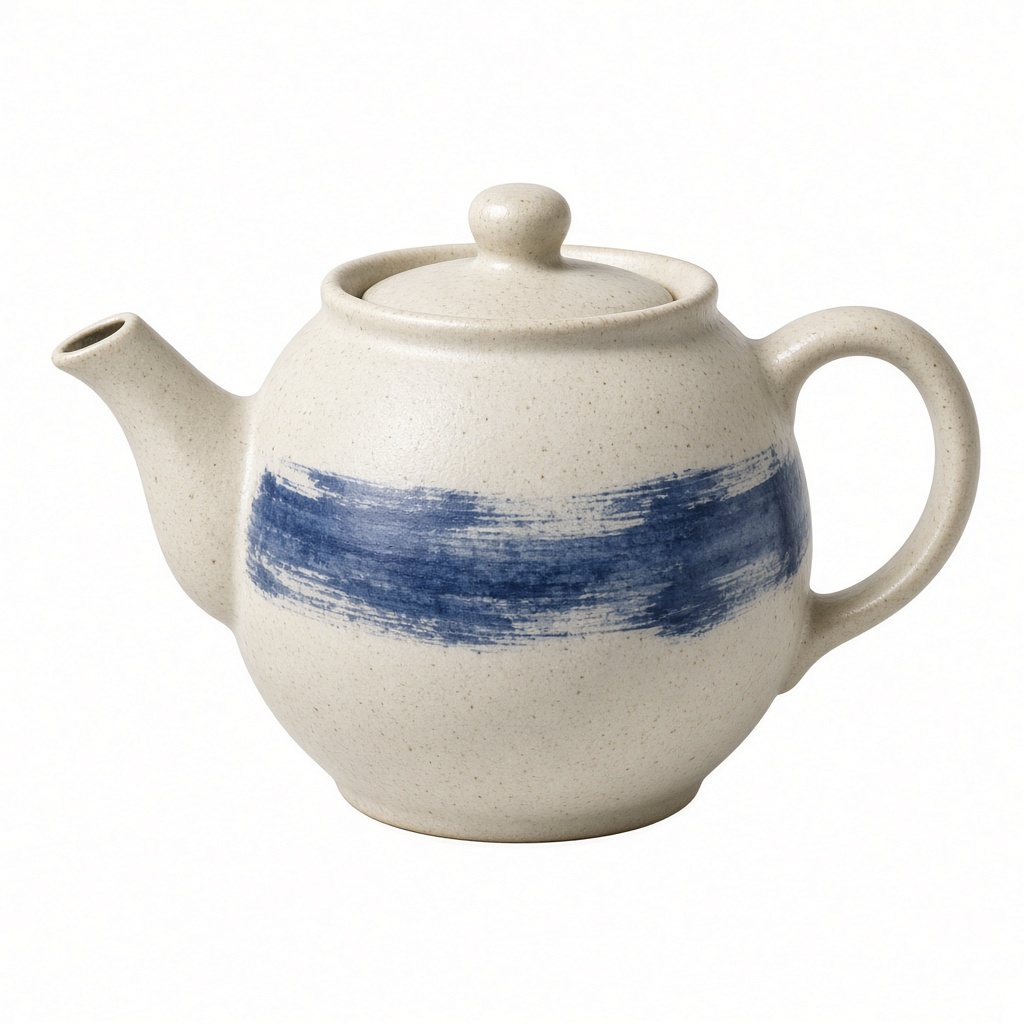
Upload a picture to create a 3D model right here. A sample model is loaded; sign in when you are ready to generate your own.

Image to 3D

Reference image *

Create image
Model license
Est. time varies
Loading 3D preview...

Case 01

Develop a prop from several reference views

Try Multi-view to 3D

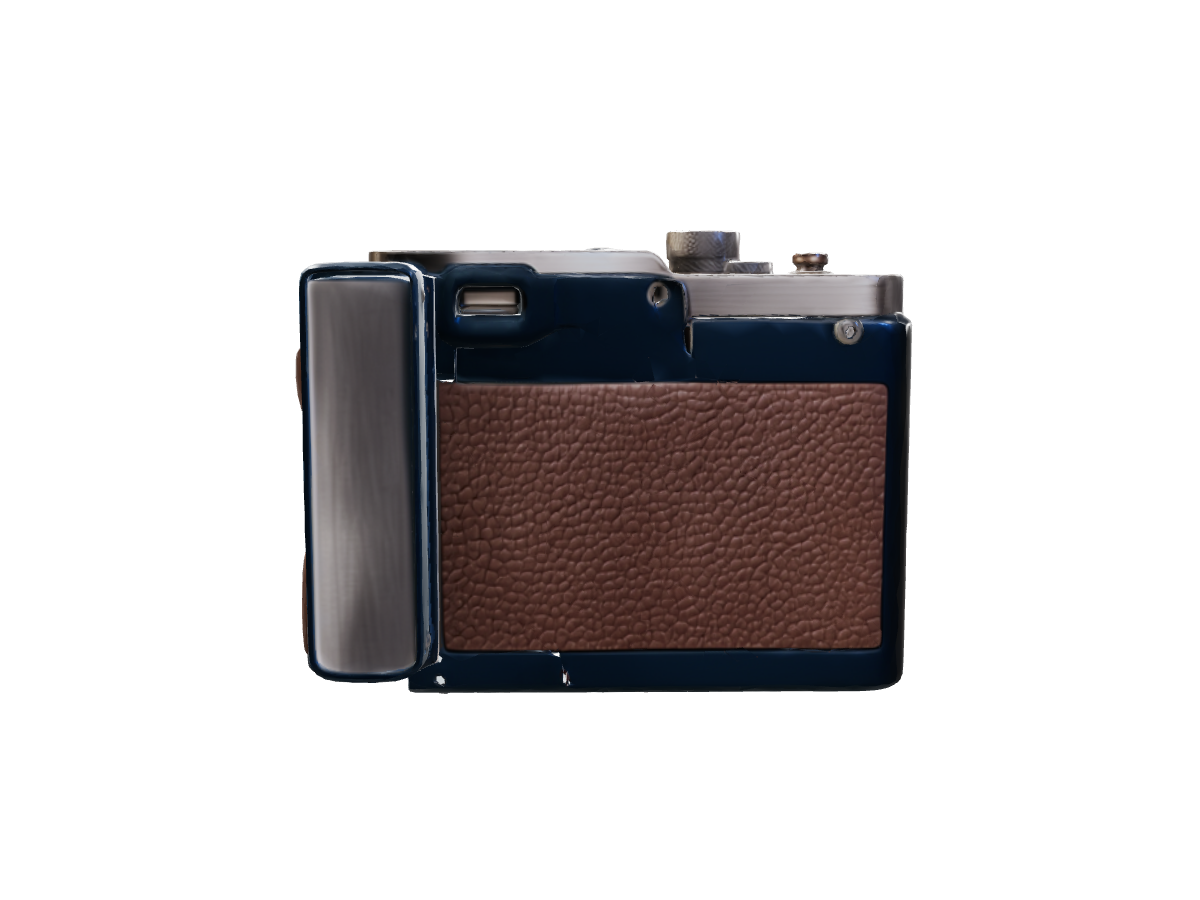
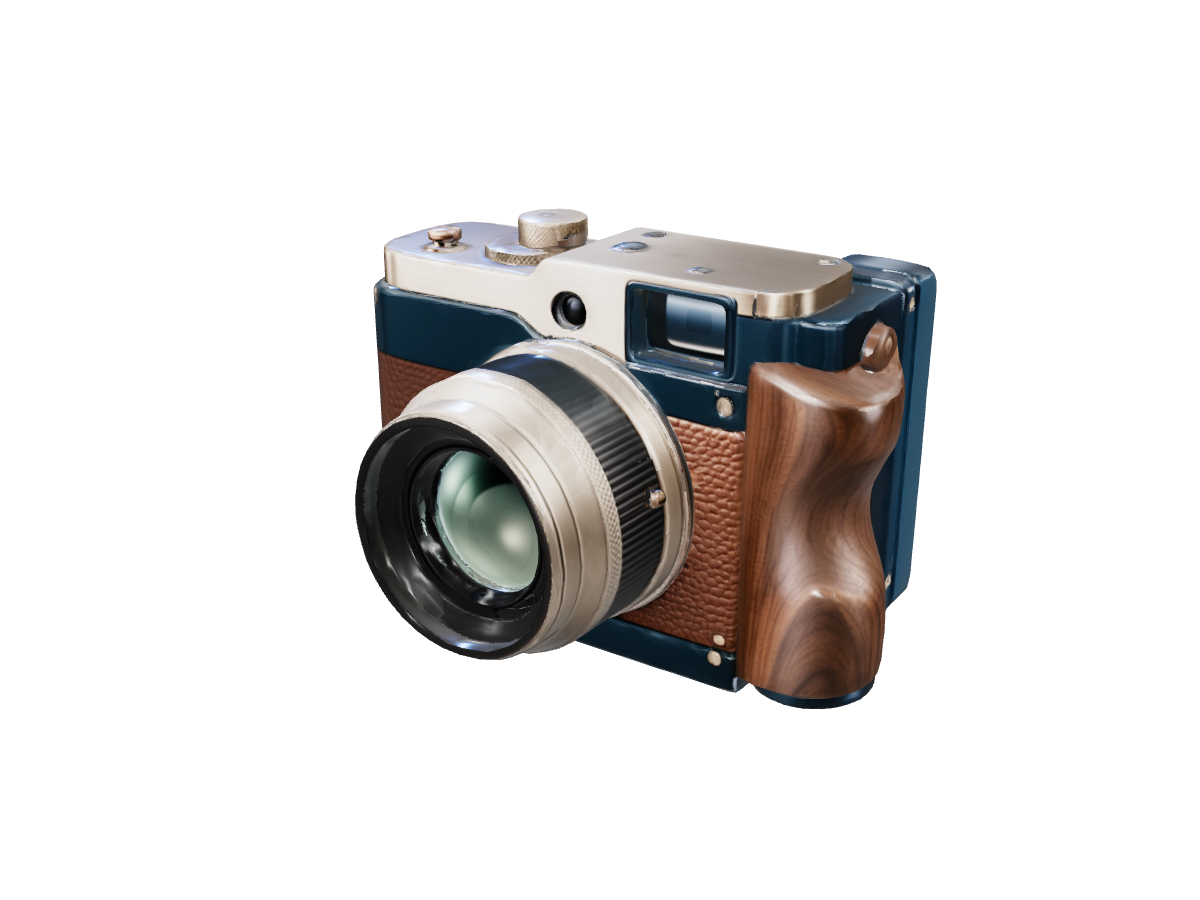
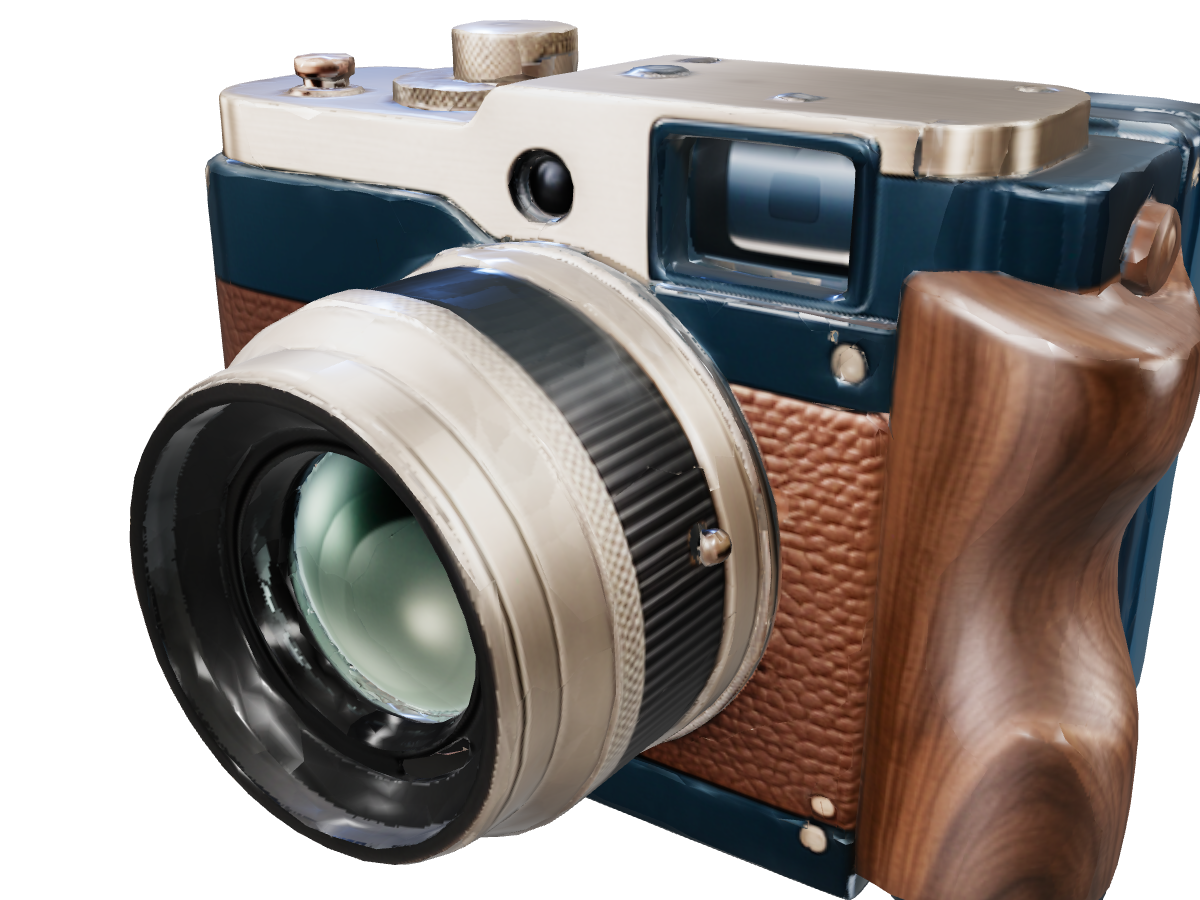
The expedition camera was generated in Multi-view to 3D from four original reference views. The camera GLB shows metal lens rings, a leather-wrapped body, and a wooden grip. The front close-up and the rear view show the surface details and the body depth.

Before a multi-view GLB goes into a final scene, check small controls, mesh edges, and scale in an editor.
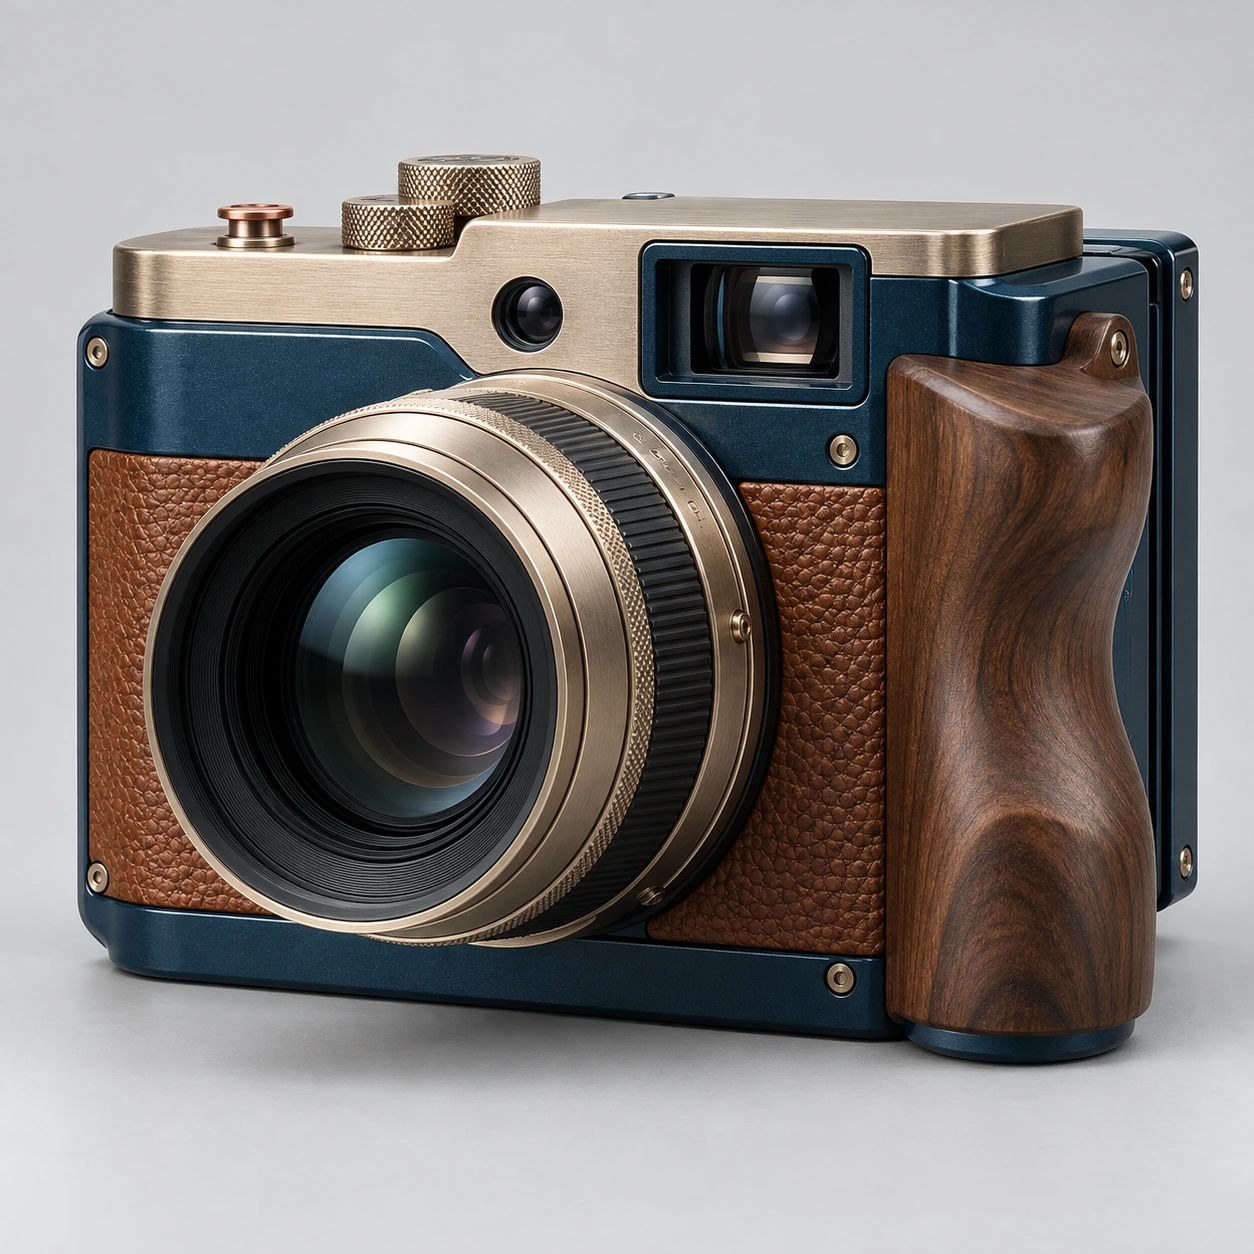
Retro expedition camera: four views, one detailed prop: Front reference: champagne-metal lens rings, leather wrap and walnut grip.
Front reference: champagne-metal lens rings, leather wrap and walnut grip.
Retro expedition camera: four views, one detailed prop: Actual model close-up: compare the lens rings, leather texture and wood grain with the front reference.
Actual model close-up: compare the lens rings, leather texture and wood grain with the front reference.
Retro expedition camera: four views, one detailed prop: Actual model rear: inspect the film-door outline, leather covering and eyepiece.
Actual model rear: inspect the film-door outline, leather covering and eyepiece.

Case 02

Work with the components inside a model

Try Separate parts

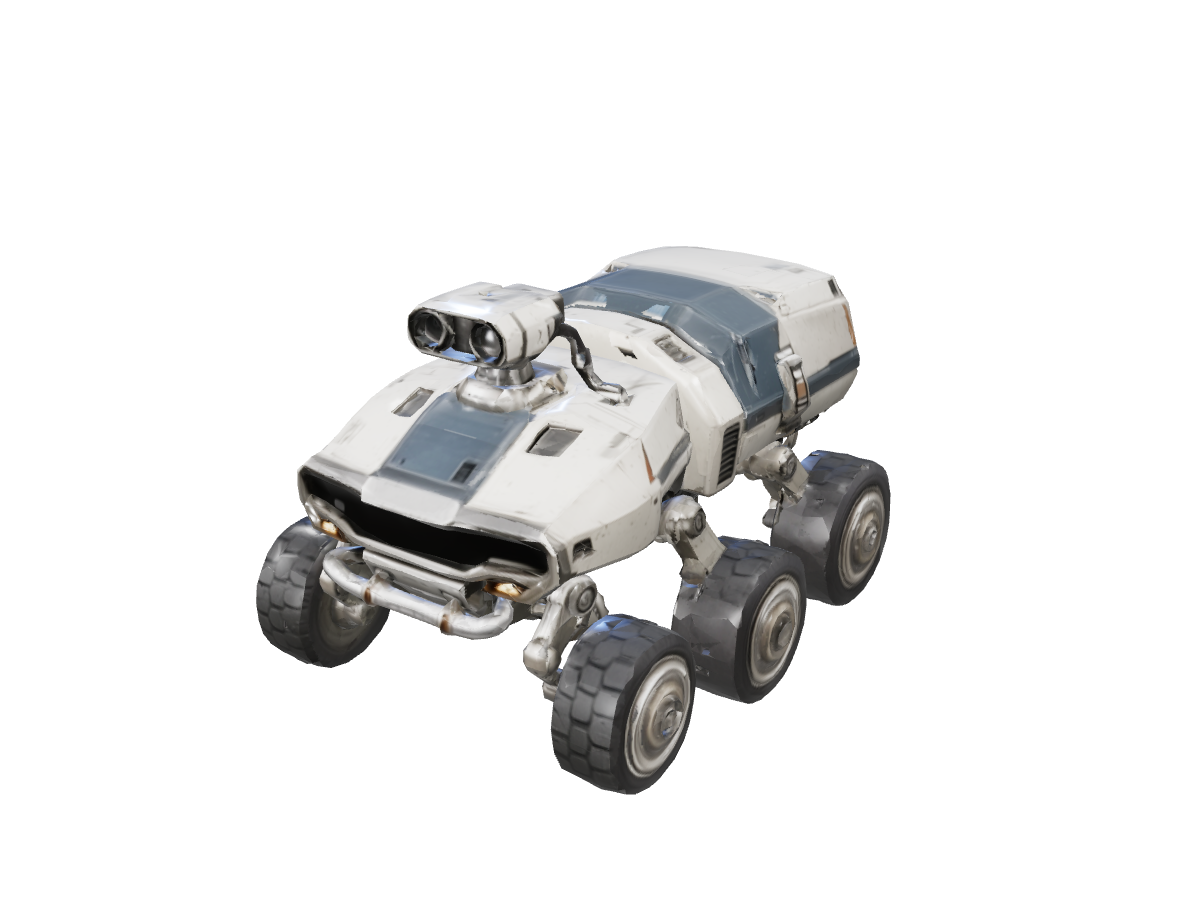
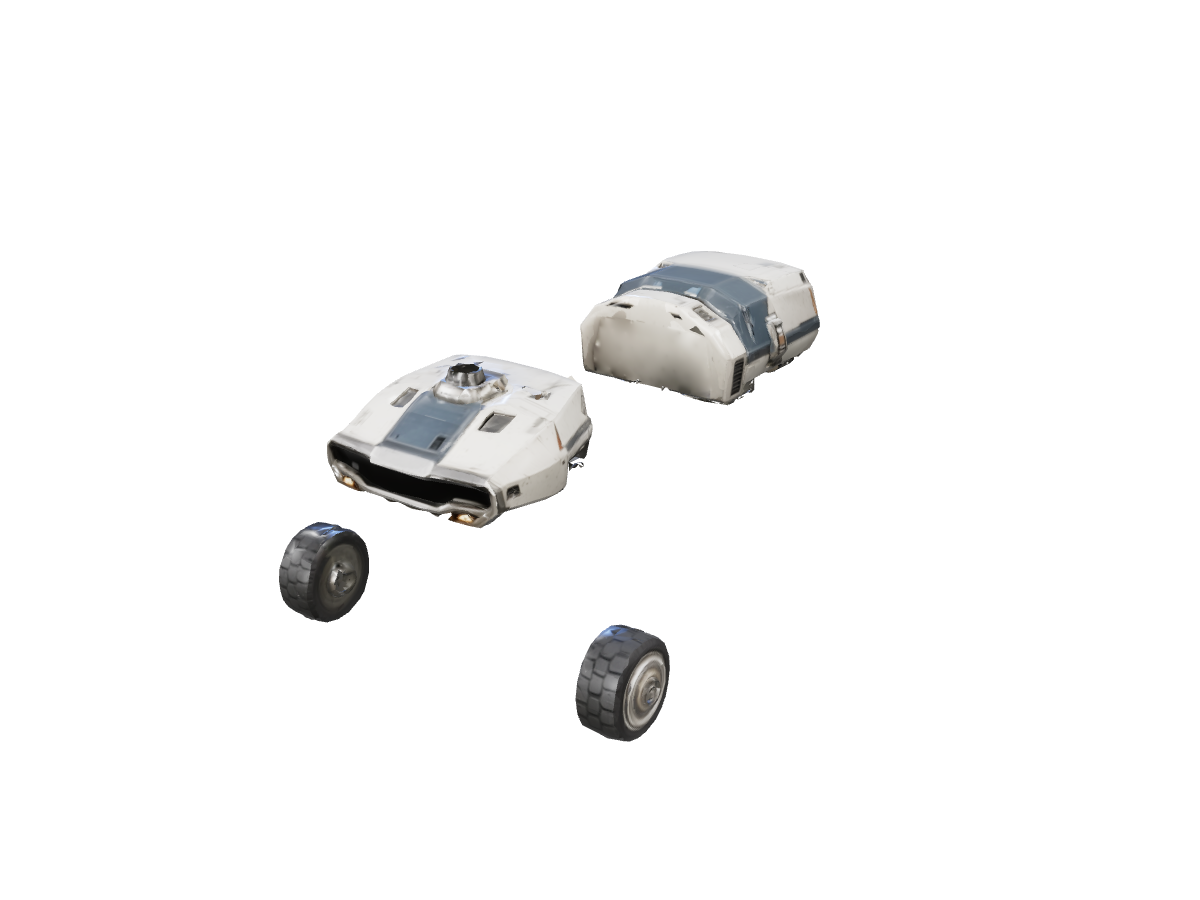
Separate parts divided the exploration rover into selectable groups: the body, the upper module, and the wheel meshes.

A 3D print still needs individual pieces exported from an editor and arranged in a slicer. Separate parts does not create a print layout.

Exploration rover: separated components: Input: the complete exploration rover before component separation.
Input: the complete exploration rover before component separation.
Exploration rover: separated components: Actual body, upper module and wheel meshes shown as separate returned groups.
Actual body, upper module and wheel meshes shown as separate returned groups.

Case 03

Take a static character through rigging and motion

Try Auto rigging

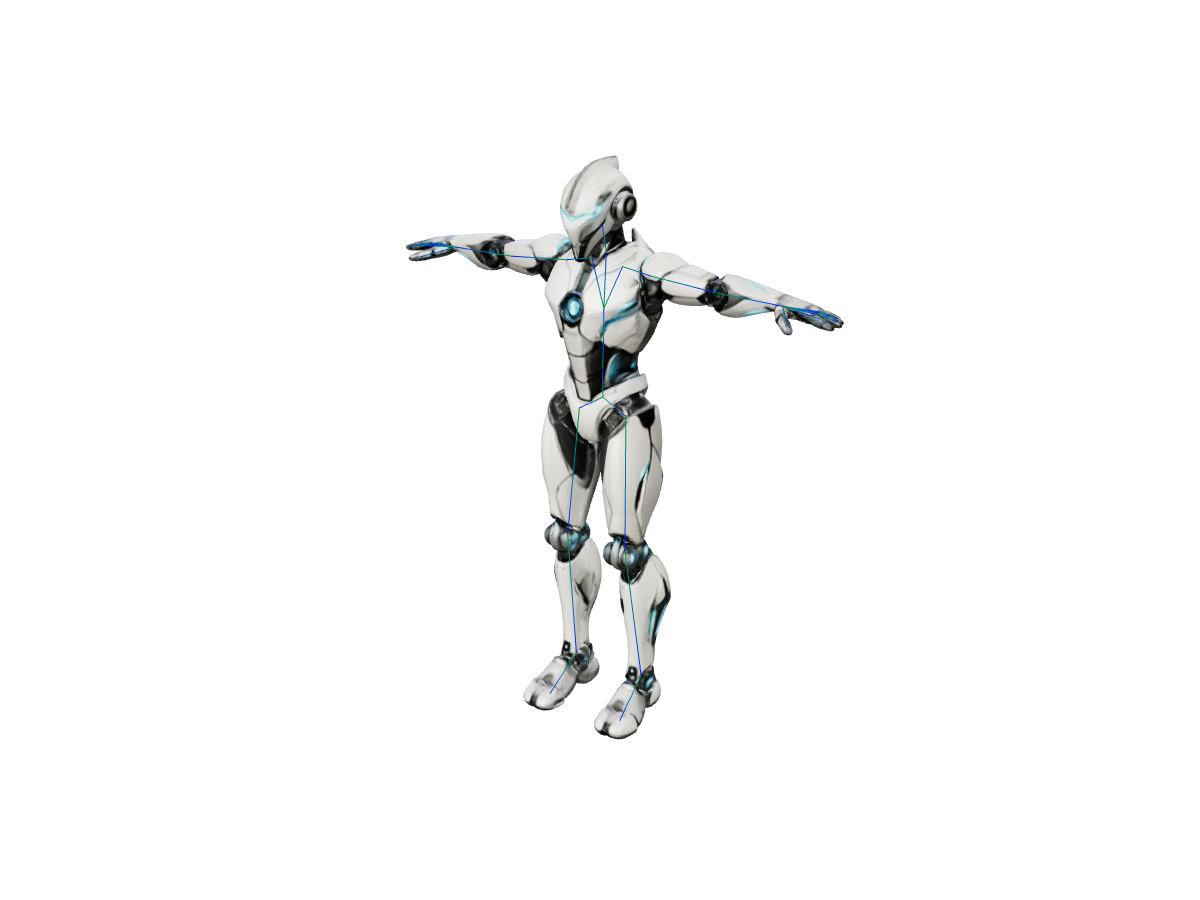
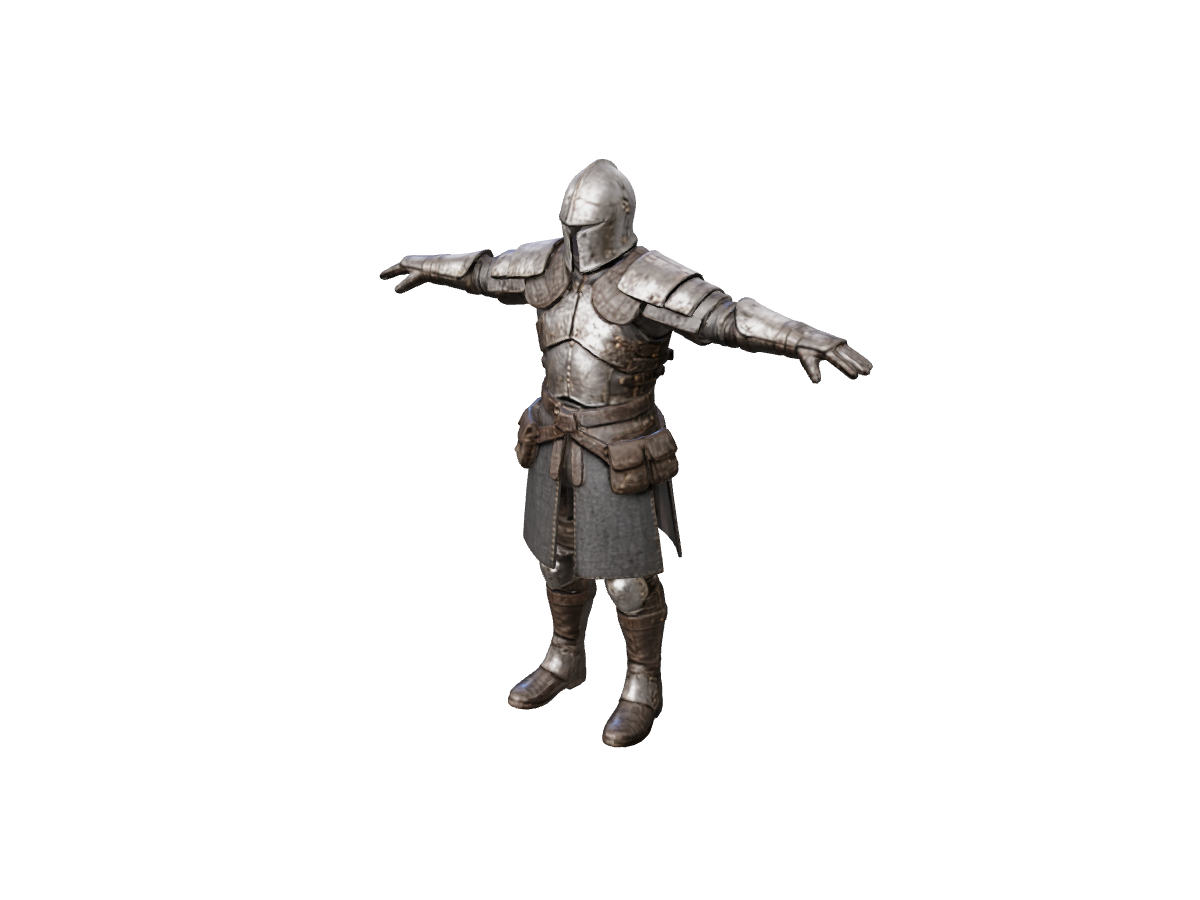
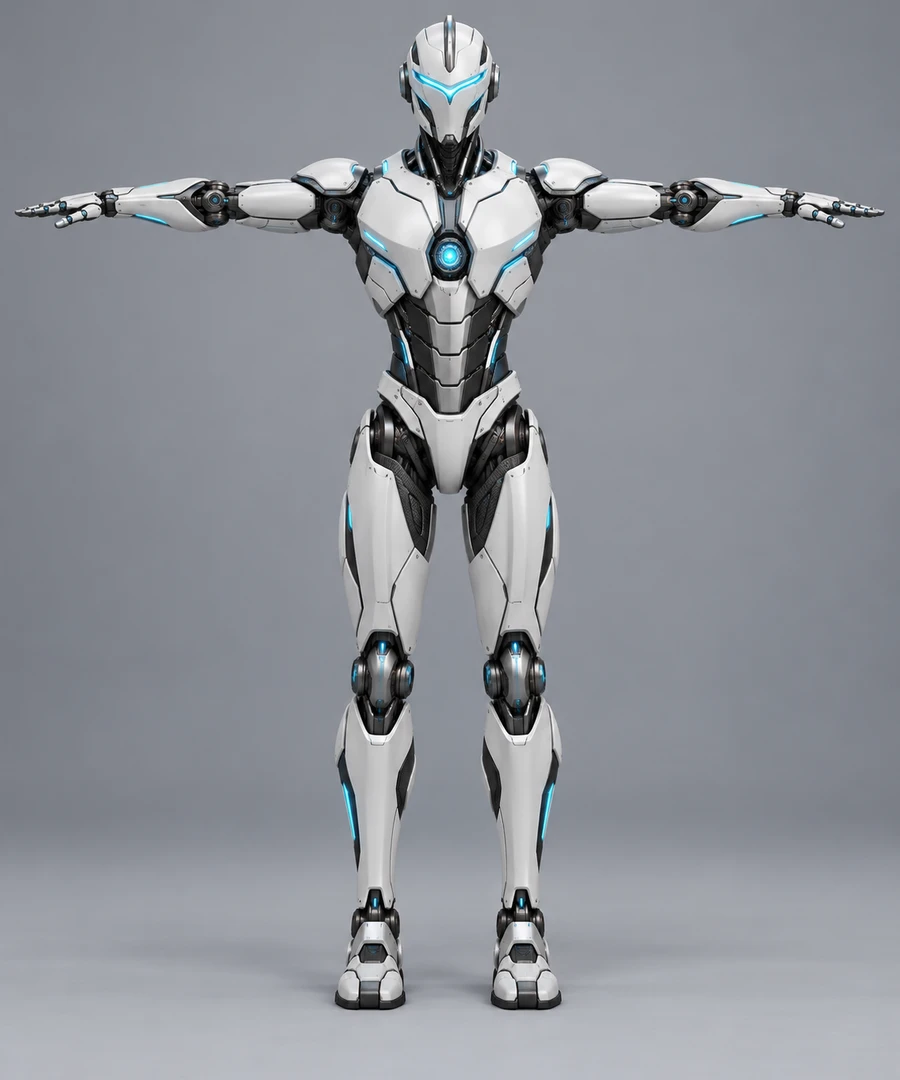
This earlier armored-robot example started from one T-pose reference. The rigged GLB contains a skeleton, titanium-white armor, and dark mechanical joints. It predates the current saved-rig workflow and does not demonstrate its new rig versions or animal support.

The homepage interactive model includes an in-place sprint and a dance clip. The homepage player loops the in-place sprint.

Use Auto rigging to check a model and save a compatible skeleton, then Apply animations to add motions without rebuilding that rig. Check deformation and foot contact in the destination scene.

Earlier example: Cyan runner: armored character in motion: Earlier example. Original front reference: titanium-white armor, graphite joints and cyan accents in a clear T-pose.
Earlier example. Original front reference: titanium-white armor, graphite joints and cyan accents in a clear T-pose.
Earlier example: Cyan runner: armored character in motion: Earlier example. Returned skeleton: inspect the character’s actual shoulder, elbow, hip and knee joints.
Earlier example. Returned skeleton: inspect the character’s actual shoulder, elbow, hip and knee joints.
Earlier example. Dance: a second actual movement to compare shoulder motion, balance and armor deformation.

Run the same steps on your own model.

View pricing

Use cases

Built for every kind of 3D work

Why NovaGen3D

Keep your 3D work in one place

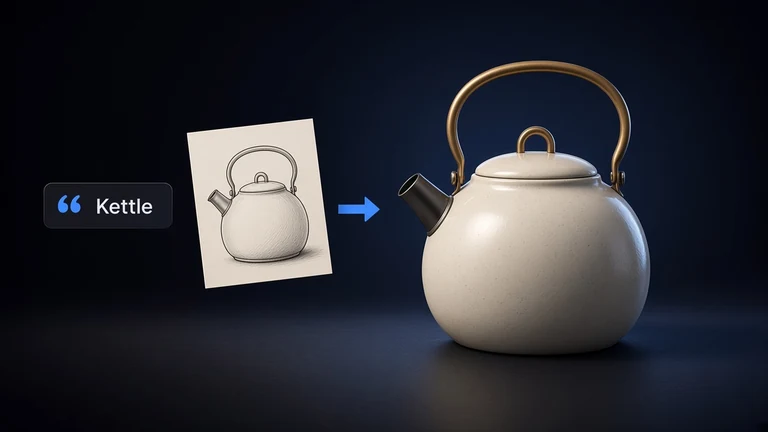
  1. A prompt and a sketch of a kettle leading to a cream ceramic kettle.

    Start without building the first mesh by hand

    Text to 3D starts from a written description, while Sketch to 3D starts from a reference image. You can generate a first GLB through the browser without installing a modeling application. AI generation uses cloud processing.

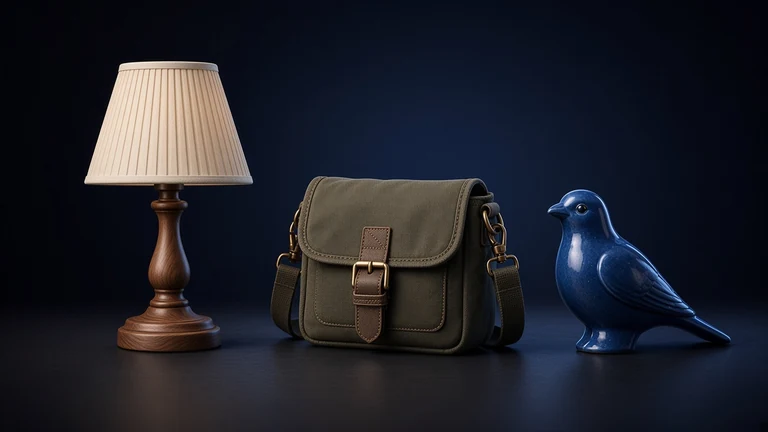
  2. A desk lamp, a canvas satchel, and a blue ceramic bird in one studio.

    Use several models from one account

    Choose NovaGen3D, Hunyuan 3D, Tripo, Rodin, Hitem3D, or Trellis in the tools that support your input, all from one NovaGen3D account. Switch models without setting up a separate workspace for each model maker.

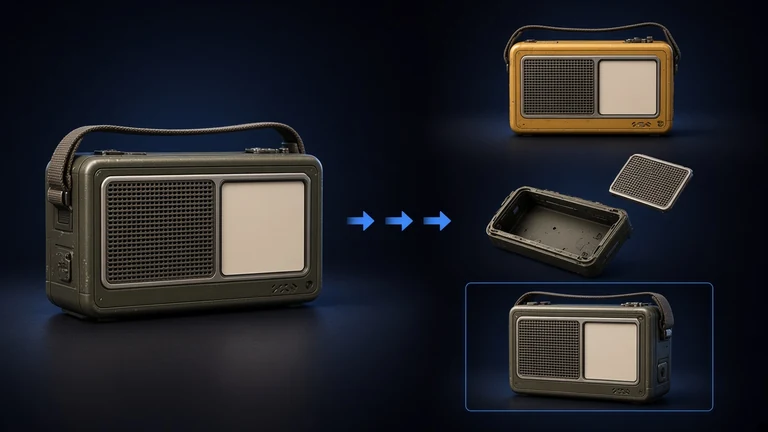
  3. An olive field radio leading to a recolored radio, separated parts, and a viewing frame.

    Continue from a model you already have

    An existing GLB can enter Texture generator or Separate parts without another text-to-3D or sketch-to-3D generation. Use the 3D Viewer to inspect the file before choosing a refinement task.

Models

Choose among several generation models

Text to 3D supports NovaGen3D, Hunyuan 3D, Tripo, and Rodin. Sketch to 3D supports those choices plus Hitem3D and Trellis. The model selector on each tool shows the AI 3D tools available for that input.

  • NovaGen3D

    Best value with Base and Pro routes

    • Text
    • Image
  • Hunyuan 3D

    Textured or geometry-only output

    • Text
    • Image
    • Multi-view
  • Tripo

    Geometry and texture set apart

    • Text
    • Image
    • Multi-view
  • Rodin

    Fast or Standard modes

    • Text
    • Image
    • Multi-view
  • Hitem3D

    Object or portrait references

    • Image
    • Multi-view
  • Trellis

    One reference image to GLB

    • Image
Compare model details
  • NovaGen3D, the best value

    NovaGen3D is the best value among these models. Base is suited to faster first drafts, while Pro is for more detail.

    Choose Base for a first draft or Pro when you need more detail. The selected tier keeps the generation route consistent with your input.

  • Hunyuan 3D for textured or geometry-only output

    Hunyuan 3D accepts a text description or reference images and can return a textured GLB or geometry only. Choose geometry only when you intend to create the materials in an editor; textured output has an optional PBR material setting. Multiple-image tasks use 2 to 8 labeled views, with Front first.

  • Tripo for separate geometry and texture choices

    Tripo accepts a text description, one image, or 2 to 4 views in front, left, back, right order. Choose geometry quality and texture quality independently; optional size estimation is available. The result is a GLB.

  • Rodin with Fast or Standard modes

    Rodin accepts text, one image, or 2 to 5 reference images in Multi-view to 3D. Rodin Fast has Minimum, Extreme-Low, and Low quality tiers. Rodin Standard adds Medium, High, and Extreme-High; both modes return a GLB.

    Rodin High Pack is available in Standard mode when materials are enabled. Choose mesh and texture settings separately from the quality tier to match the model's next use.

  • Hitem3D for object or portrait references

    Hitem3D accepts images of an object or portrait, not text-only prompts. Upload one image or 2 to 4 labeled views. The supported view labels are front, back, left, and right.

    Hitem3D offers Fast and Pro quality options with optional textures and PBR materials. Choose the object or portrait setting to match the reference subject.

  • Trellis for one reference image

    Trellis accepts exactly one image and returns a GLB. Use Sketch to 3D for Trellis; text prompts and multiple views are not supported.

Formats

Convert an image to a 3D model in 3 steps

  • 1. Upload one image

  • Upload one PNG, JPG, JPEG, or WebP on Sketch to 3D. One file is enough. A second view is not required.

  • 2. Choose a model and submit

  • Choose NovaGen3D, Hunyuan 3D, Tripo, Rodin, Hitem3D, or Trellis, then submit. Generation runs in the cloud and spends account credits. The back and sides are inferred from that single image.

  • 3. Review the GLB

  • Rotate the GLB, including the inferred back, before you texture it, split parts, or export. An AI image to 3D run uses this same upload. A 2D image to 3D result is still an inferred mesh, not a measurement of the hidden side.

FAQ

Frequently asked questions

Is NovaGen3D only for characters or game assets?

NovaGen3D generates products, props, characters, and other objects from a text prompt in Text to 3D or reference images in Sketch to 3D. Auto rigging supports eligible humanoid and animal body types; Apply animations shows only the motions compatible with the saved rig. Birds and unclassified types currently have no preset motions.

Can I bring a model I already have?

Continue from an existing GLB with Texture generator or Separate parts. Eligible character and animal GLBs can enter a free rig check, followed by rigging and compatible preset motions. Existing bones are checked before creating a separate rig version. The 3D Viewer opens GLB, GLTF, OBJ, STL, PLY, FBX, 3MF, and DRC.

What should I check before using a model in a game?

Check topology, materials, scale, and character deformation in the target engine. NovaGen3D does not certify a GLB as game-ready.

What should I check before 3D printing?

Check wall thickness, closed surfaces, supports, and assembly in an editor and a slicer. Separate parts does not lay out a print plate.

How does access work?

Local viewing and conversion need no account, and browser-side conversion exports download freely. Saving a viewer image or screenshot is free. AI tasks use account credits. Keeping a generated result private, or downloading AI models, saved assets, and case files, needs a paid subscription or credit pack. See pricing for plan details.

Can I make a 3D model from an image for free?

A new verified account can receive a one-time welcome credit balance, and it expires after 30 days. Sketch to 3D spends those credits the same way as any other generation. The welcome balance does not unlock the original file; downloading the generated model needs a paid subscription or credit pack.

Can you turn an image into 3D?

Yes. Upload one PNG, JPG, JPEG, or WebP and Sketch to 3D returns a GLB. The back and sides are inferred from that single picture, so rotate them before you treat the mesh as finished.

Can I convert a 2D image to 3D?

Yes. A flat PNG, JPG, JPEG, or WebP goes through the same one-image generation. The result is a mesh of the visible subject, not a scan of depth the photo never showed.

Turn your next idea into a 3D model

Start from text, one image, or several views. Sign in for welcome credits, where available.

View pricing
Or browse all tools